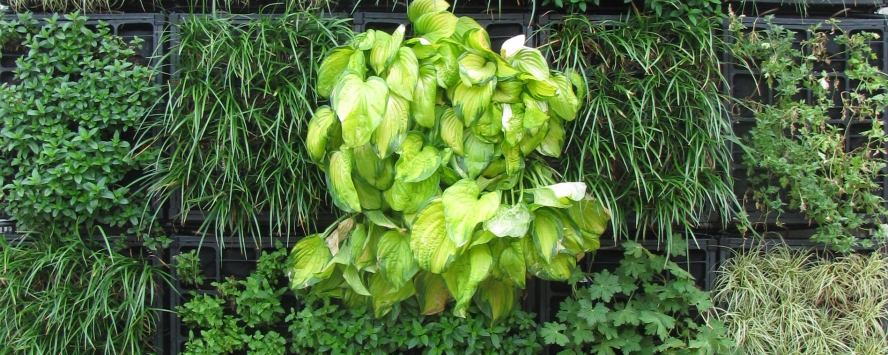
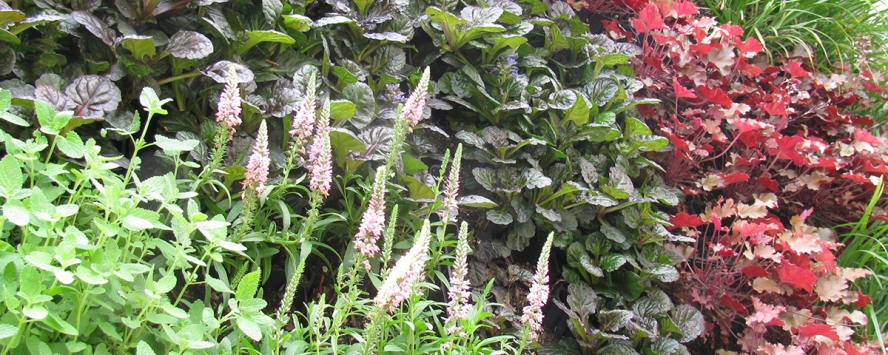
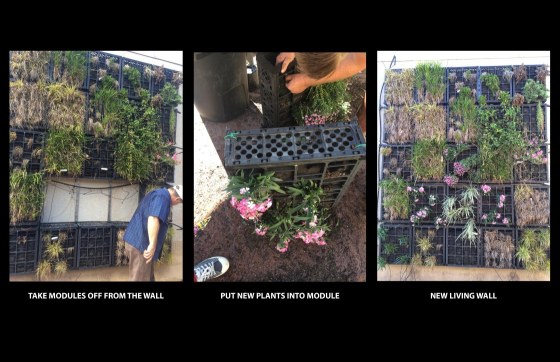
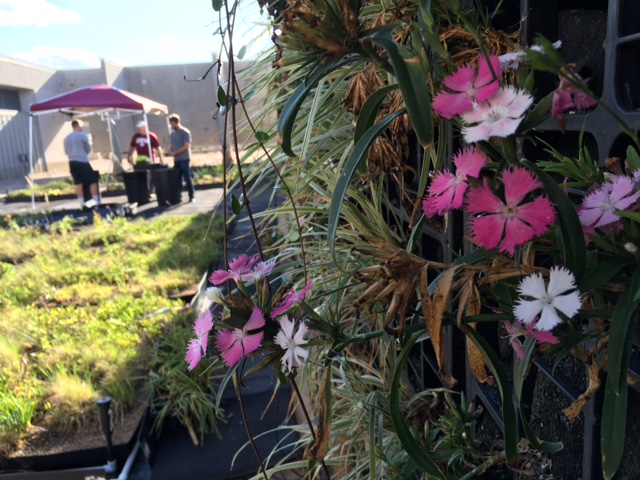
The last project we wanted to complete was re planting one of our green walls. Over the course of this semester we have successfully unweeded already established beds, other sections of our green walls have already been replanted, while we also produced new sections of green roof bedding for further study. As we come to a close, we will discuss the stages we went through and what I personally took away from the over all experience.
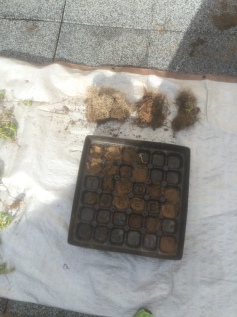
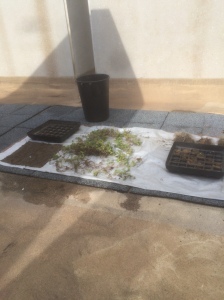
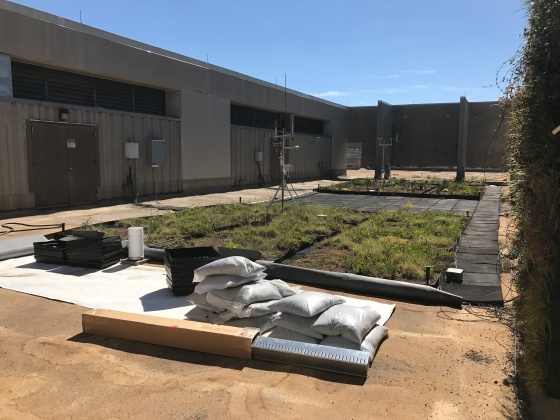
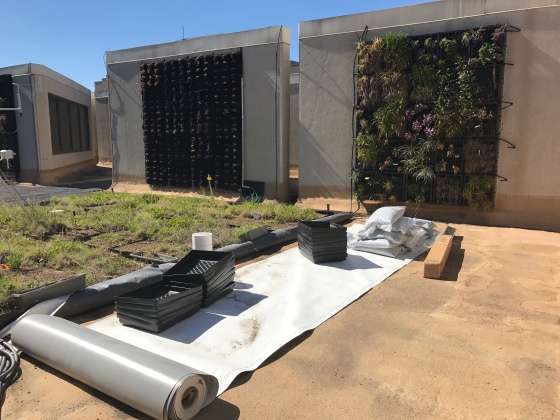
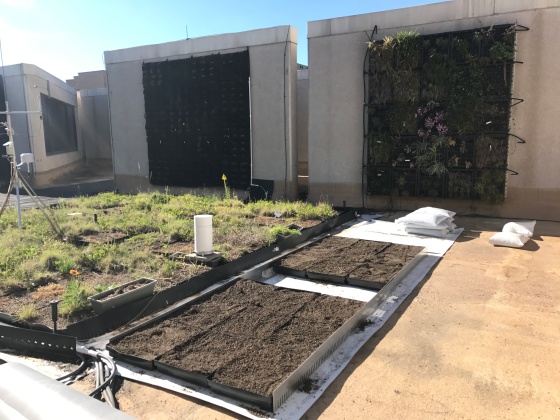
This slide show runs a series of photos that were taken as the construction of the bed was created.
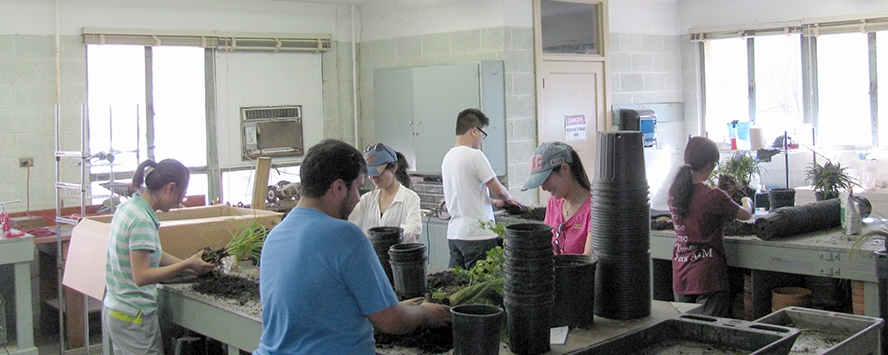
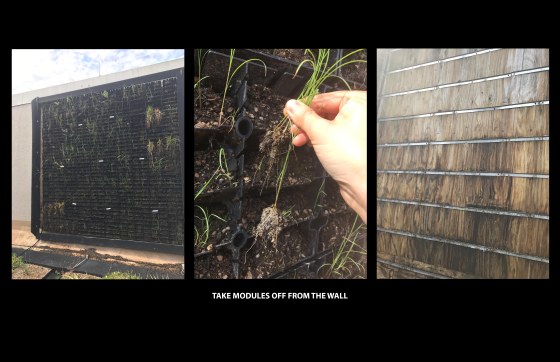
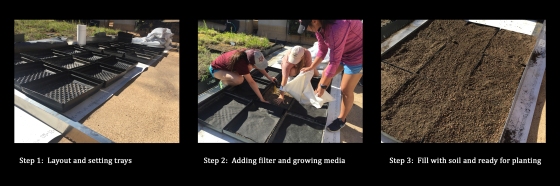
Stage 1: Take down panels from the green wall and empty the plantings from them while keeping the majority of soils in tacked. While we were sponsored more materials, we found it important to save whatever materials we already had, thus making them spread further in the long run.
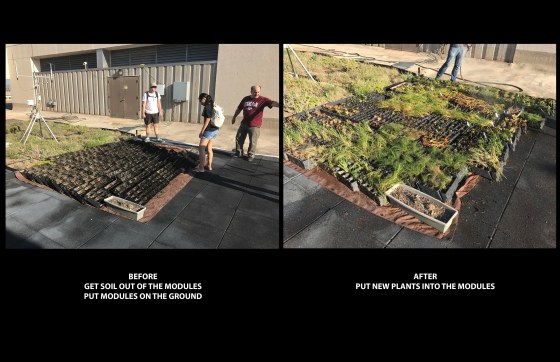
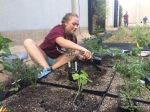
Stage 2: Provided plants had to be transferred to planting panels. Due to having such a large multitude of plants, we had to make it a priority to get the more stressed plants established as soon as possible. To do this we formed an assembly line that cleaned panels, passed plants into panels with new soil and fertilizer.
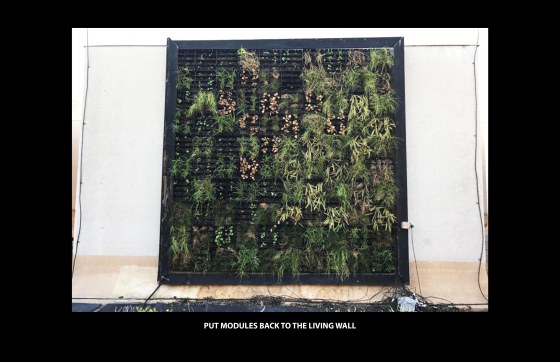
Step 3: After two weeks of plantings, we completed the panels. The final step included placing the panels back on to the wall and allowing them to take further root.
This slideshow requires JavaScript.
In conclusion, there is still much work to be done. I have learned a lot about the proper processes to consider and what elements play a larger role in the success of green roofs. My initial interest in the subject took root about year ago. The idea to improve the heat index, water quality, and slow storm surge really appeals to me. To add to all of these effects there is also the aesthetic value, by learning more about them I might perhaps be able to apply this to my future work.


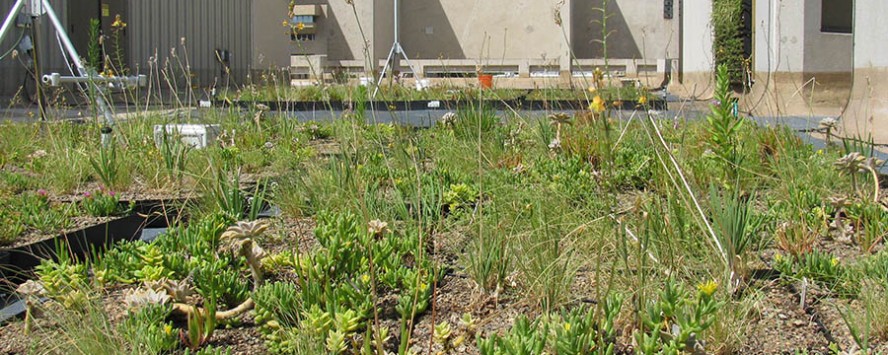


 This way the smaller prairie plants would cover all the open ground that the weeds were growing in.